How Crews Set Posts and Attach Pickets During a Wood Fence Installation
Wood fence installation is a precise, step-by-step process that determines how well your fence holds up for years to come. Whether you are planning a privacy fence for a backyard in Ankeny, IA, or a simple boundary line for your property, understanding how crews work can help you make smarter decisions. This guide walks through every major stage of wood fence installation, from the first stake in the ground to the last picket on the rail.
Marking the Fence Line and Calling 811
A straight fence starts with a carefully marked layout. Before any digging begins, crews walk the property line using stakes and mason's string to map out exactly where the fence will run. This step keeps the structure aligned and helps avoid boundary disputes with neighbors.
Iowa law requires property owners and contractors to call 811 before digging. This free service marks underground utilities such as gas lines, water pipes, and electrical cables. Ankeny, IA, has an active mix of established neighborhoods and newer residential developments, and utility lines can run in unexpected locations. Skipping this call is not just dangerous; it can also result in costly repairs or legal liability.
Digging Post Holes the Right Way
Post holes set the foundation for the entire fence. Crews typically use a gas-powered auger to dig holes that are one-third the post height deep. For a standard six-foot privacy fence, that means holes reaching roughly two feet or more.
In Central Iowa, the frost line runs approximately 42 inches deep. Setting posts above the frost line can cause heaving when the ground freezes and thaws through the region's cold winters. Experienced crews account for this by digging to a depth that keeps posts stable through Iowa's seasonal freeze-thaw cycles. This is one reason professional wood fence installation in Ankeny, IA, tends to produce longer-lasting results than DIY attempts that underestimate frost depth.
Post Hole Diameter and Spacing
Post holes are typically three times the diameter of the post itself. A 4x4 post, for example, generally calls for a hole around 12 inches wide. Proper hole width gives the concrete room to cure around the post without cracking.
Post spacing usually falls between six and eight feet on center. Wider spacing can cause rails to sag and pickets to bow over time, so crews plan spacing carefully before the first hole is dug.
Setting Posts in Concrete
Setting posts correctly may be the single most important step in wood fence installation. Crews typically pour a fast-setting concrete mix directly into the hole around the post. The post is held plumb using a level on two adjacent sides, and temporary braces keep it in position while the concrete cures.
Each post is checked for plumb from multiple angles before the concrete sets. A post that leans even slightly can throw off the entire fence line. Crew members also crown the concrete slightly above grade so water drains away from the wood rather than pooling at the base. Moisture at the base of a post is one of the leading causes of premature rot.
Why Cedar Is a Strong Choice for Iowa Yards
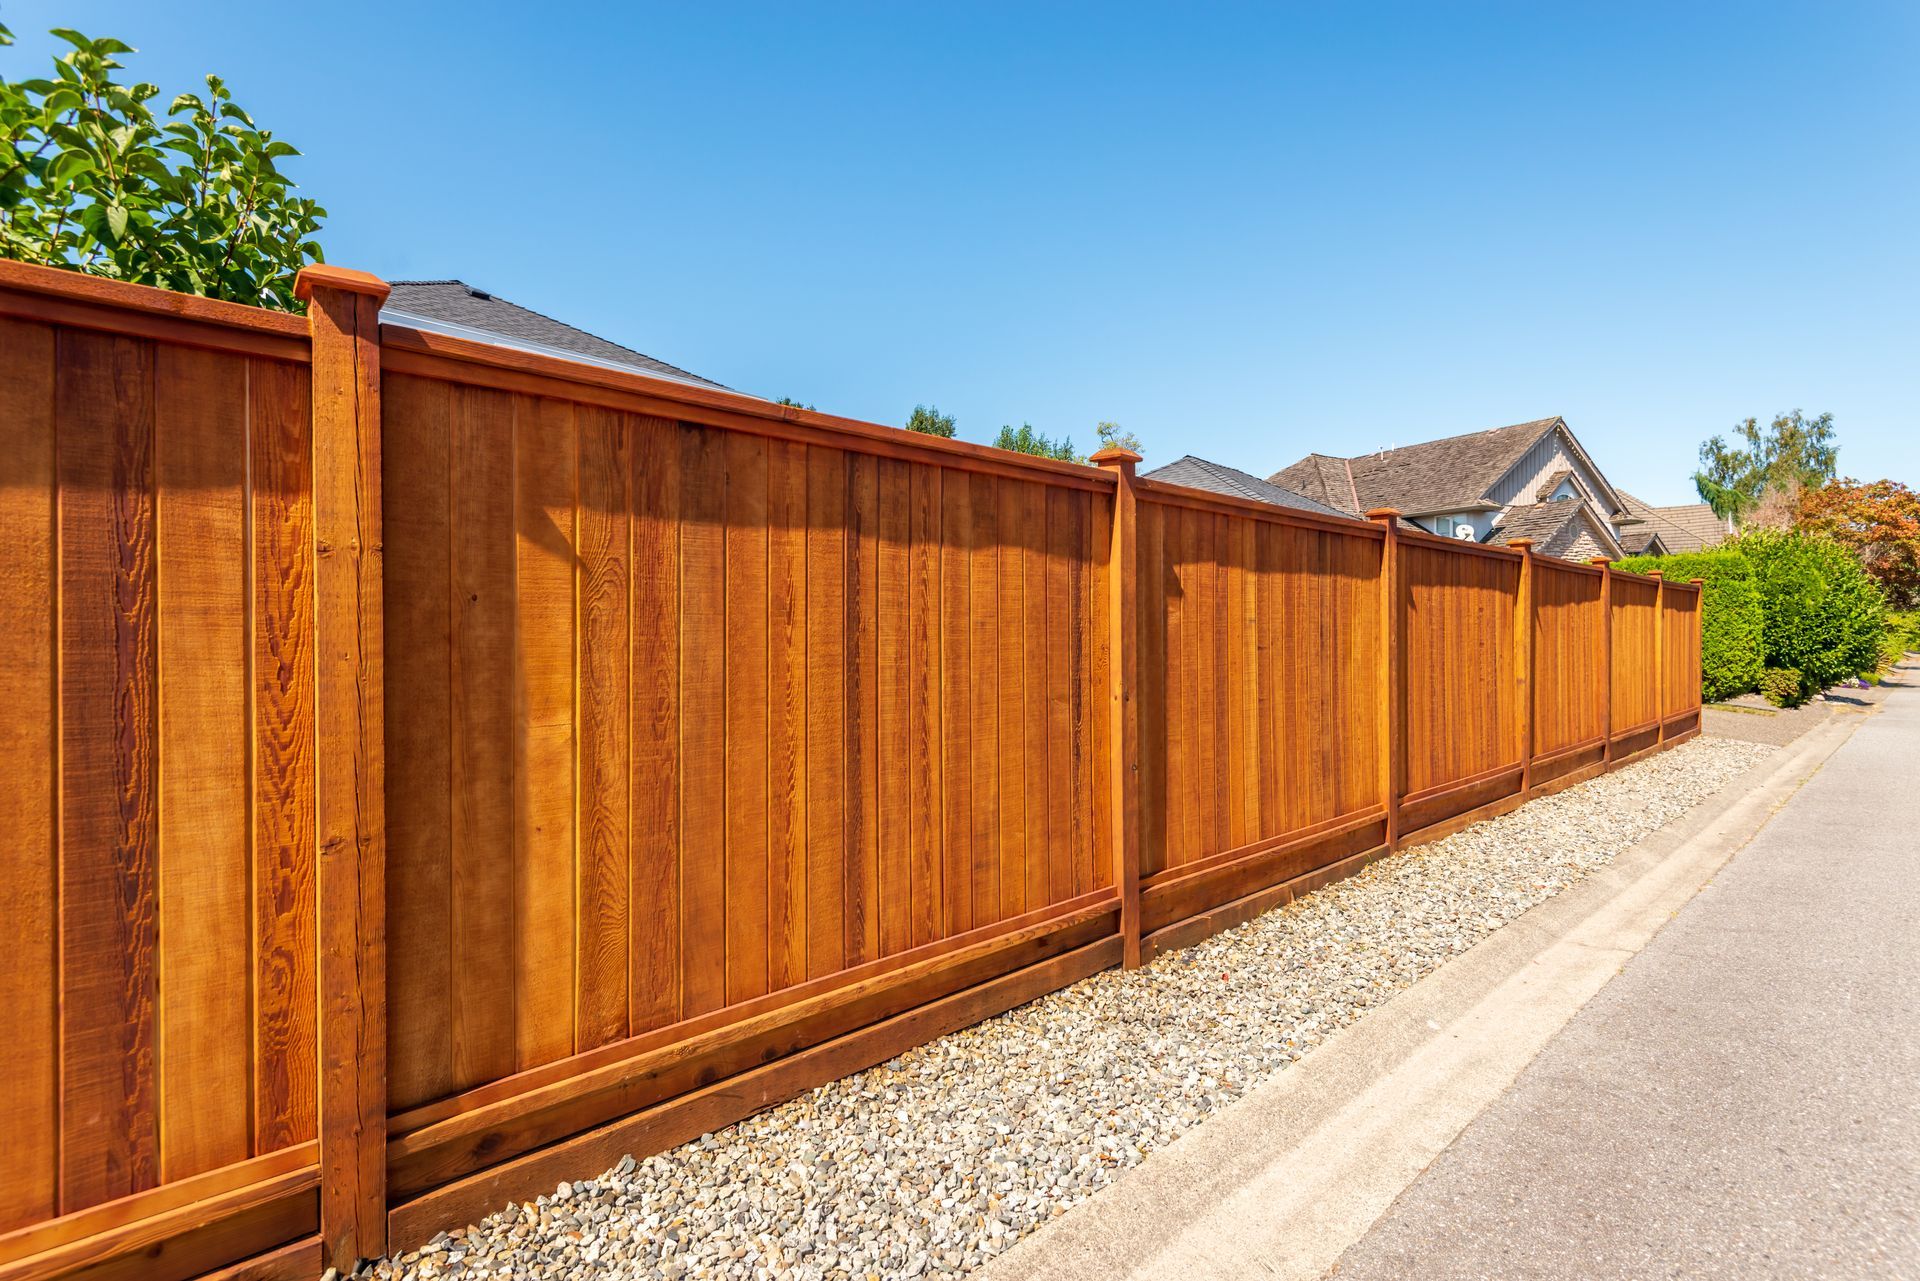
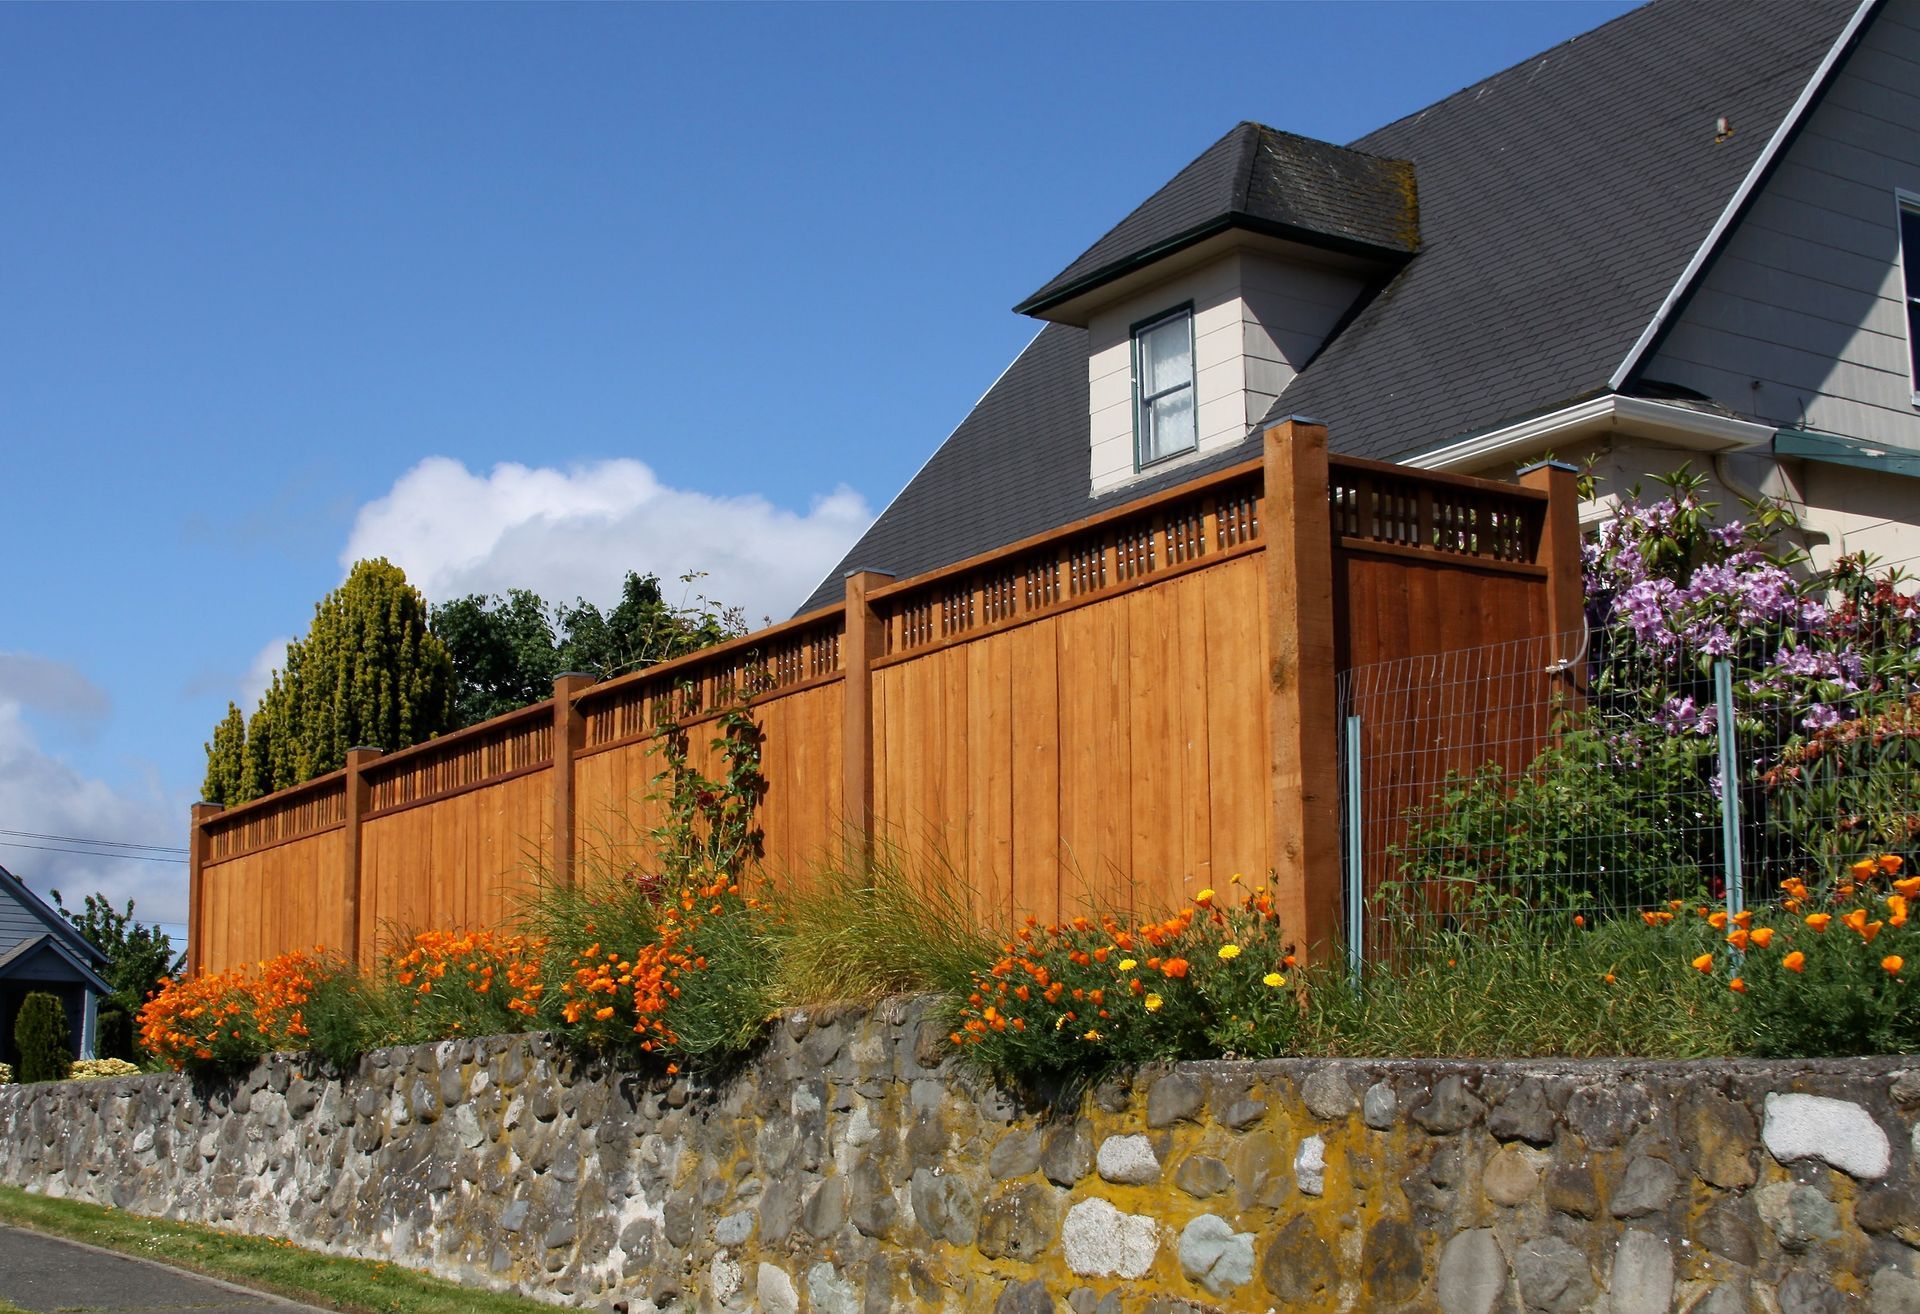
Cedar is a popular choice for wood fencing across Central Iowa. The wood contains natural oils that resist moisture and insect damage, which matters in a climate that sees both humid summers and hard freezes. Cedar also takes stain and sealant well, giving homeowners flexibility to match the fence to their home's exterior color.
Attaching Fence Rails
Once posts have cured and are firmly set, crews attach horizontal rails that span from post to post. A typical privacy fence uses two or three rails: one near the top, one near the bottom, and sometimes one in the middle for extra rigidity.
Rails can be face-mounted to the outside of the posts or set into notched brackets. Notched mounting tends to resist warping better and keeps the finished face of the fence clean. Every rail should be level and secured with corrosion-resistant screws or nails that will not rust or stain the wood over time.
Hanging Pickets for a Finished Look
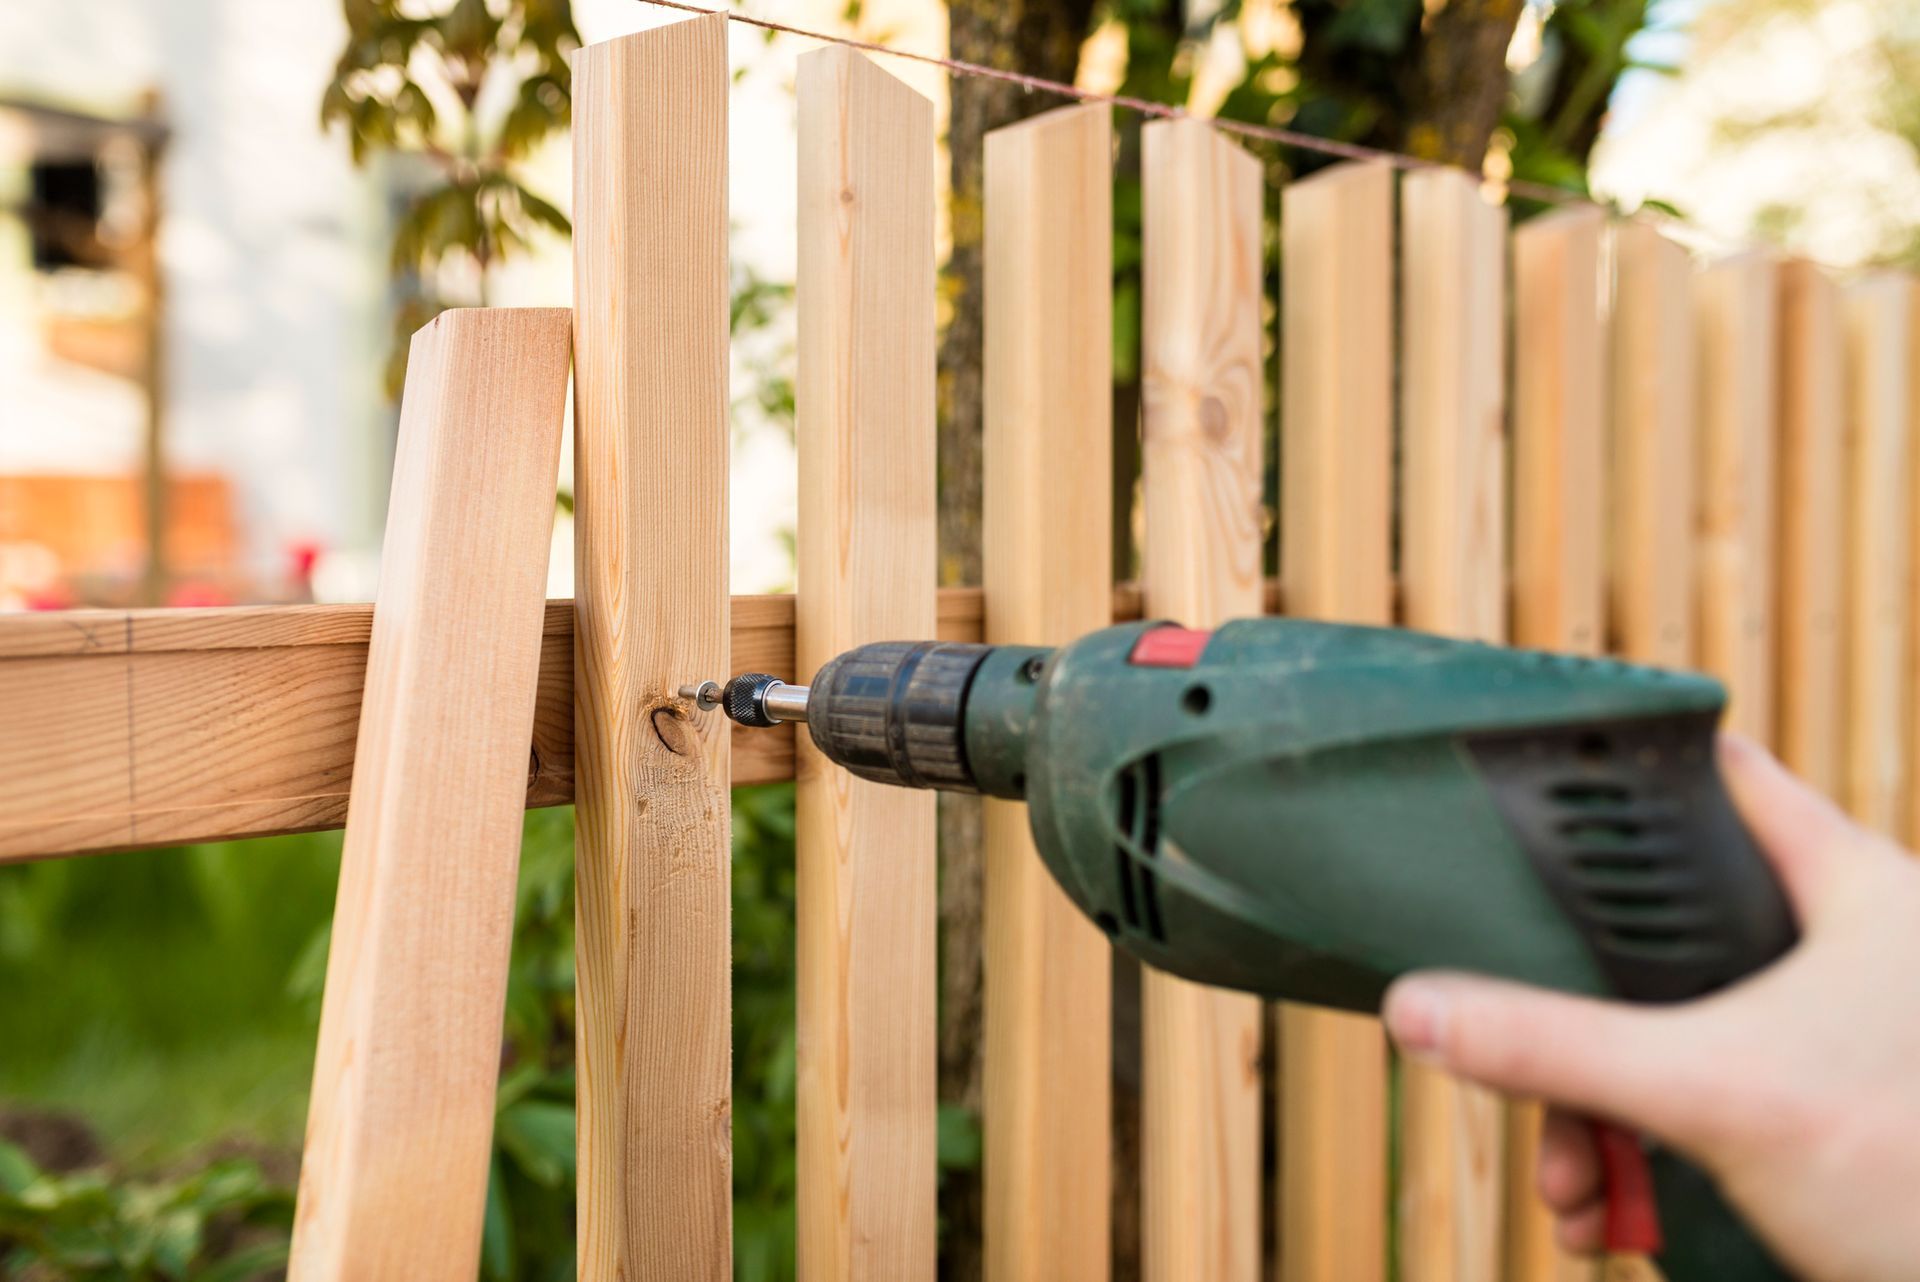
With rails in place, crews attach individual pickets to create the finished fence surface. Pickets are typically spaced using a small block of scrap wood as a spacer, which keeps gaps consistent from board to board. Even a quarter-inch gap variation becomes visible on a long run of fence.
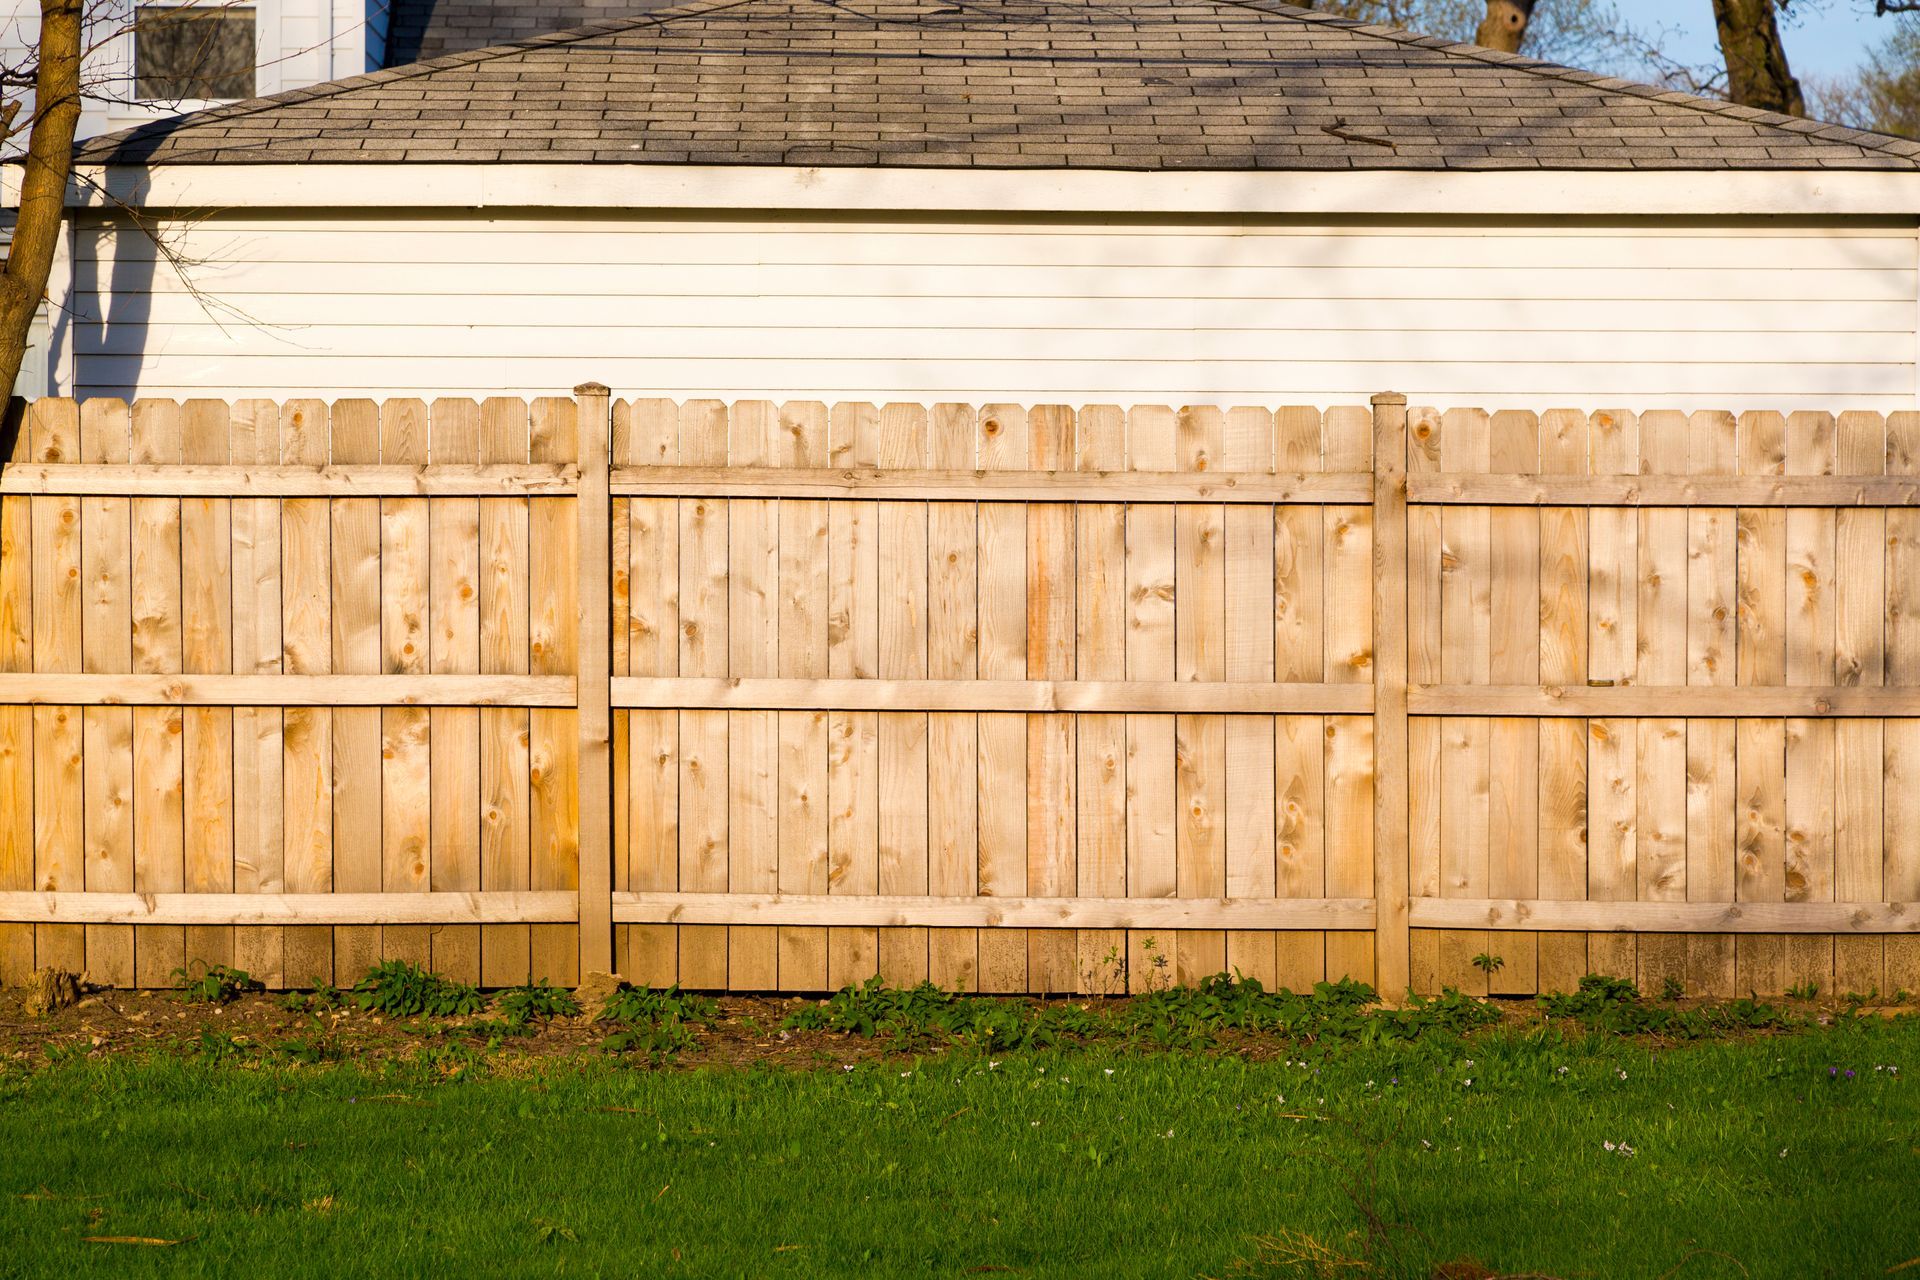
Pickets are fastened with two screws or nails per rail. The top of each picket is usually cut into a point, a flat top, or a dog-ear shape, depending on the homeowner's preference. Crews check alignment frequently as they work across the fence line to catch any drift before it becomes noticeable.
Choosing the right picket style is one of the decisions homeowners face during wood fence installation, and an experienced crew can walk you through the options before work begins. For more detail on available styles and materials, visit the
wood fences page.
Ready to Get Your Fence Started in Ankeny?
Every step described in this guide adds up to a fence that stands straight, sheds water correctly, and holds up through Iowa winters. Skipping or rushing any stage is where problems begin.
Fencing Solutions has been serving Central Iowa homeowners, including those in Ankeny, IA, since 1995. The team builds every wood fence from cedar, custom-fabricates each project on-site, and backs all work with a one-year workmanship warranty. To request a free, no-obligation estimate, reach out through the
contact page or call
515-499-5578.